

Detailing Tips
Car Detailing Before & After Photos: A Simple Checklist
Stop forgetting the before shot. Here's a simple photo checklist for detailers to capture better results and keep customers informed.
October 13, 2026
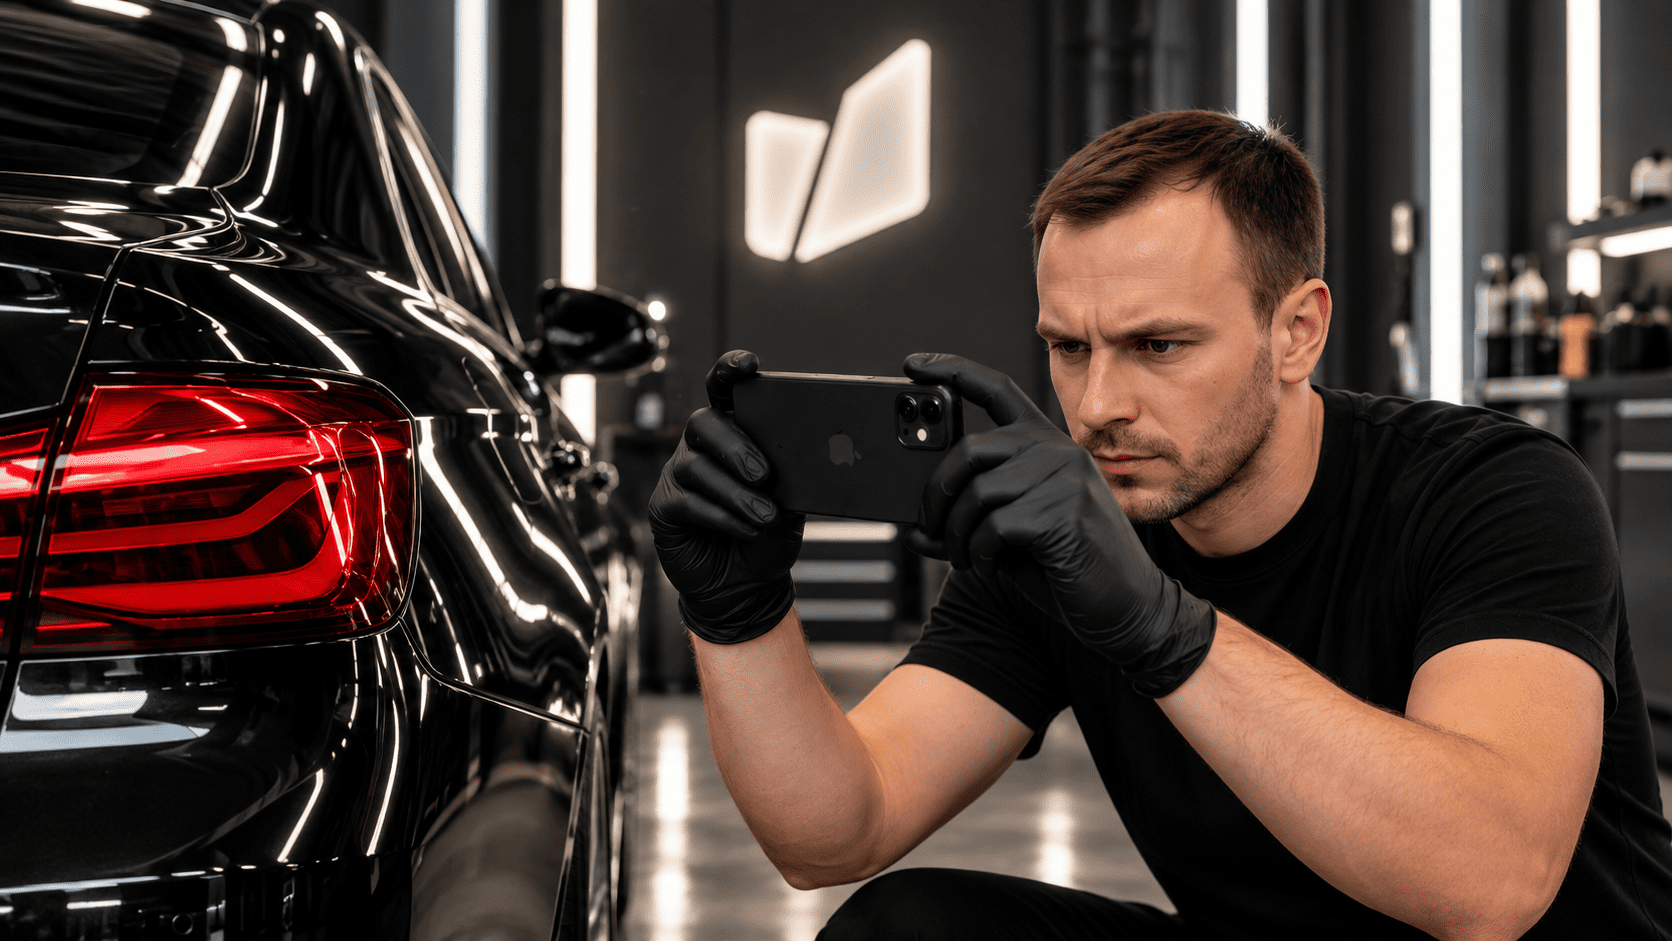
Ever finish a detailing job, grab your phone to take an after photo, and realize you forgot the before shot?
It happens. And it's frustrating, especially when the transformation was actually impressive.
The good news? You don't need expensive camera equipment or 50 photos per car. You just need a simple routine.
1. Take a Few Photos Before You Start
Before touching the car, spend a minute capturing its condition.
Depending on the service, here are a few useful shots:
Full exterior: A clear view of the vehicle.
Front seats and dashboard: Great for interior detailing.
Carpets and floor mats: Especially when they're heavily stained.
Wheels or paint: Useful for exterior detailing and paint correction.
Problem areas: Pet hair, stains, scratches, or anything the customer specifically wants fixed.
You don't need every shot for every job. Focus on the areas you're actually working on.
Quick tip: Photograph any noticeable pre-existing damage separately. Keeping a record of the vehicle's original condition can help clarify questions later.
2. Match Your Before and After Photos
This is where a lot of detailers miss an opportunity.
If your before photo is taken in a dark garage and your after photo is taken outside in direct sunlight, the comparison won't tell the whole story.
Try to keep three things consistent:
Angle: Stand in approximately the same position.
Lighting: Use similar lighting whenever possible.
Distance: Keep the same area in the frame.
A fair comparison looks more professional than one with dramatic filters or different lighting.
Let your actual work speak for itself.
3. Don't Forget the Photos After the Job
Once the work is finished, go back through the same areas.
Check your before photos on your phone and recreate them as closely as possible.
It only takes a little extra effort, but now you have something useful: a clear visual record of what changed.
You can use those photos for your portfolio, social media (with the customer's permission), or simply to show the customer the finished result.
4. Keep Everything Organized
Taking great photos is one thing. Finding them two weeks later is another.
Instead of leaving everything mixed into your camera roll, keep each job's photos together with the date, vehicle, and a few notes about the work performed.
It makes follow-ups easier and gives you a record to refer back to if a customer has a question.
And when it's time to send the results, a clean before-and-after report can look a lot better than a bunch of random pictures in a text conversation.
A Small Habit Worth Keeping
You don't need to turn every detailing job into a photoshoot.
Just make it a habit: take a few good photos before, repeat them after, and keep them organized.
Your future self — and your customers — will appreciate it.